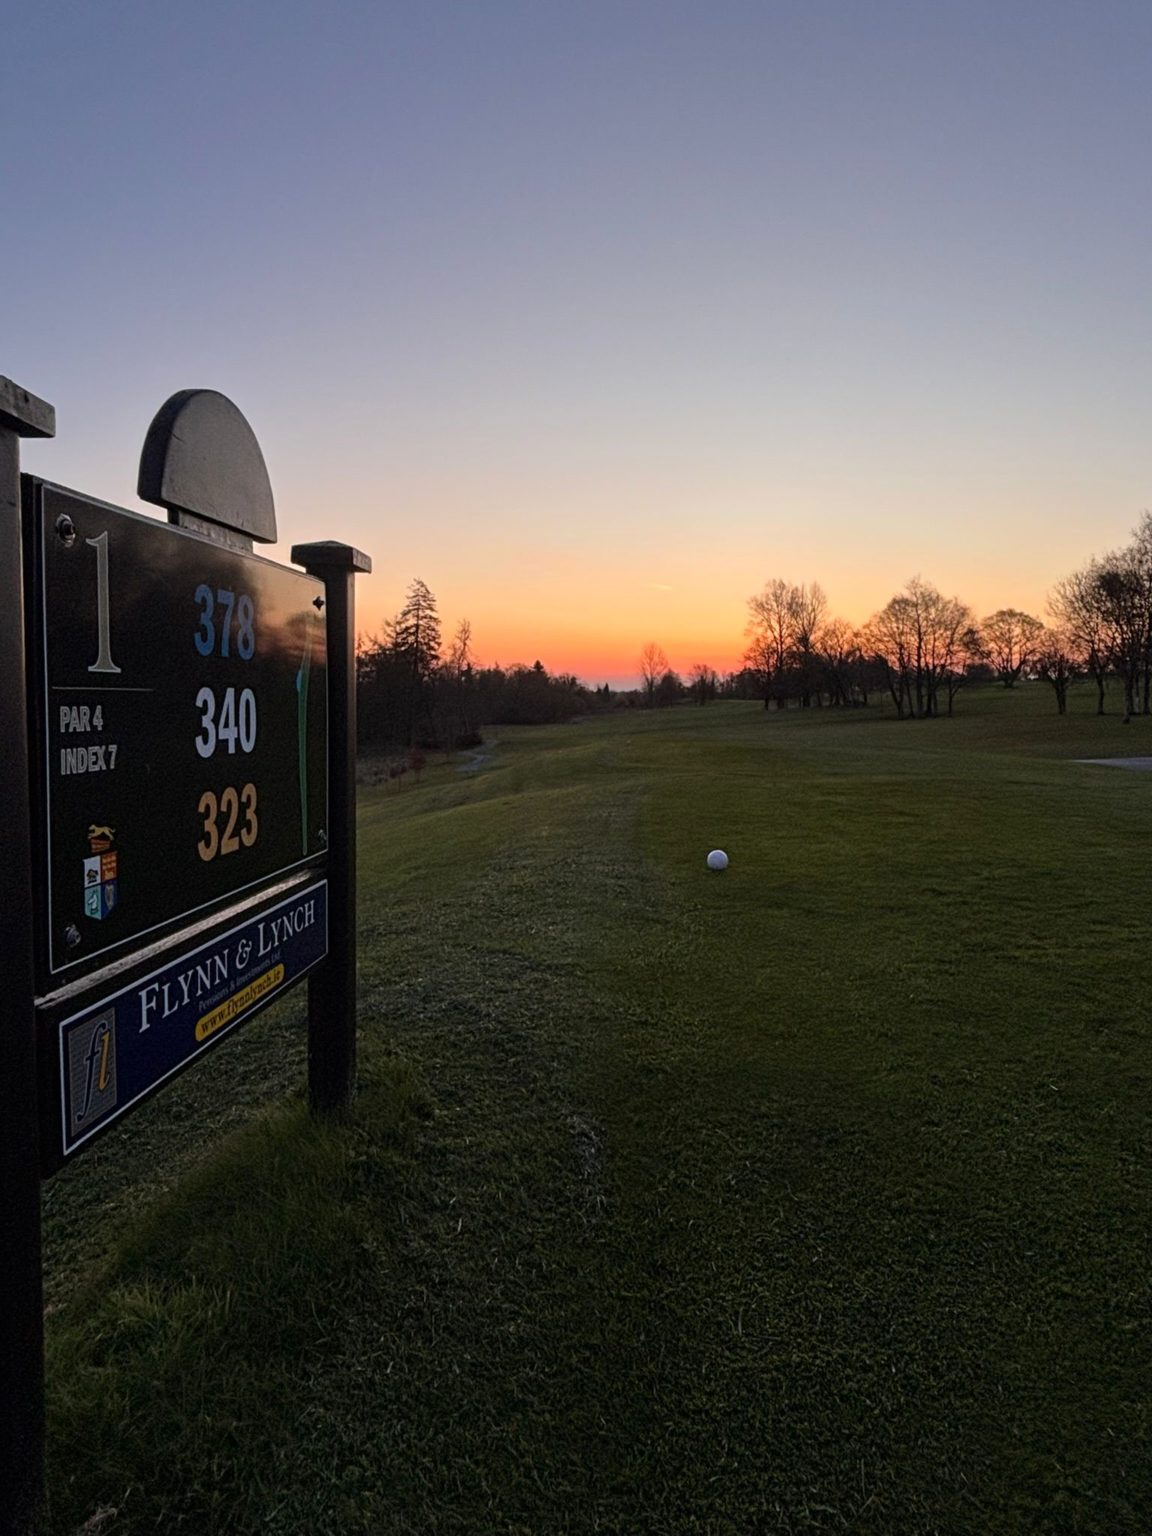
Par 4.There is no fairway bunker since early 2013 on this first hole to catch you! Mind the pond on the left though-approach shot uphill takes one club more than you think.
Play Video
Hole 2 – 304 (White) / 262(Red)metres
Par 4. The line of the drive is on the end of the wall – with slight fade – leaving a short approach shot to a well bunkered green.
Play Video
Hole 3 – 288(White) / 263(Red)metres
Par 4.Straightforward drive up centre of fairway-leaving an uphill approach shot to a long tricky green.
Play Video
Hole 4 – 140(White) / 126(Red)metres
Par 3. Bunkers on the right, water on the left – with a dip in the fairway front of green. Take care here as ball tends to fall left from centre of green.
Play Video
Hole 5 – 351(White) / 275(Red)metres
Par 4. Drive up centre of fairway leaving a challenging approach shot to elevated well protected green.
Play Video
Hole 6 – 331(White) / 256(Red)metres.
Par 4.Line of drive between trees to right side of fairway – leaving tricky shot to narrow green, with water on the right and out of bounds on the left.
Play Video
Hole 7 – 463(White) / 416(Red)metres
Par 5. Wide open fairway – keep away from trees on the right with second shot. Green reachable in two. The green looks to be uphill-its not-approach shots will run through to back.
Play Video
Hole 8 – 120(White) / 110(Red)metres
Par 3.Downhill to green & slope on green makes putting tricky.
Play Video
Hole 9 – 353(White) / 345(Red) metres
Par 4 (par 5 for ladies). You need a good drive up the centre of fairway. Approach is a long second to along narrow well-guarded green.
Play Video
Hole 10 – 367(White) / 314(Red) metres
Par 4.Tight driving hole with trees on both sides. You must be on left hand side of the fairway in order to have a line of sight to the long undulating green
Play Video
Hole 11: 406(White) / 353(Red) metres
Par 5. A long drive to the right side of the fairway will give you have a realistic shot at the green. If not, lay-up to the left of the bunker and approach with a short pitch to an elevated long undulating green. Bunker in front and fairy fort on right will accept anyway ward shots!
Play Video
Hole 12: 280(White) / 228(Red) metres
Par 4. One of our Signature holes. Line off tee to the three tall trees in the distance. Any thing short and right may be blocked out by trees. Approach shot to narrow tricky green surrounded by water.
Play Video
Hole 13: 463(White) / 429(Red) metres
Par 5. A double dog leg hole with trouble on the right side. Line of drive is the big ash tree. Fairway for second shot snakes to the left with green well protected by big trees on the left.
Play Video
Hole 14: 169(White) / 157(Red)
Par 3. Long tee shot required to well bunkered green-front and back. Par here is a good score.
Play Video
Hole 15: 309(White) / 289(Red)
Par 4. Our shortest par 4. Best line to the right of tree in centre of fairway leaving a tricky approach shot which is well protected by trees on left and pond right and back.
Play Video
Hole 16: 317(White) / 302(Red)
Par 4. Dog leg left.185 metres from white tees to gap in the tree line and view of the green. Try to carry the corner and you are left with a short pitch to a plateau green. The green has water on the right side and out of bounds on the left side so accuracy is crucial here.
Play Video
Hole 17: 144(White) / 109(Red) metres
Par 3.Strong par 3.No bunkers but demands accurate tee shot. Elevated green requires one extra club. This is a very long green so clubbing is important or you could be left with a 90ft putt!
Play Video
Hole 18: 455 (White) / 381(Red)
Par 5: Another of our signature holes. Drive centre of fairway. Keep your second shot left of large fir tree on right, leaving a daunting pitch over water to large receptive green. Beautiful finishing hole.